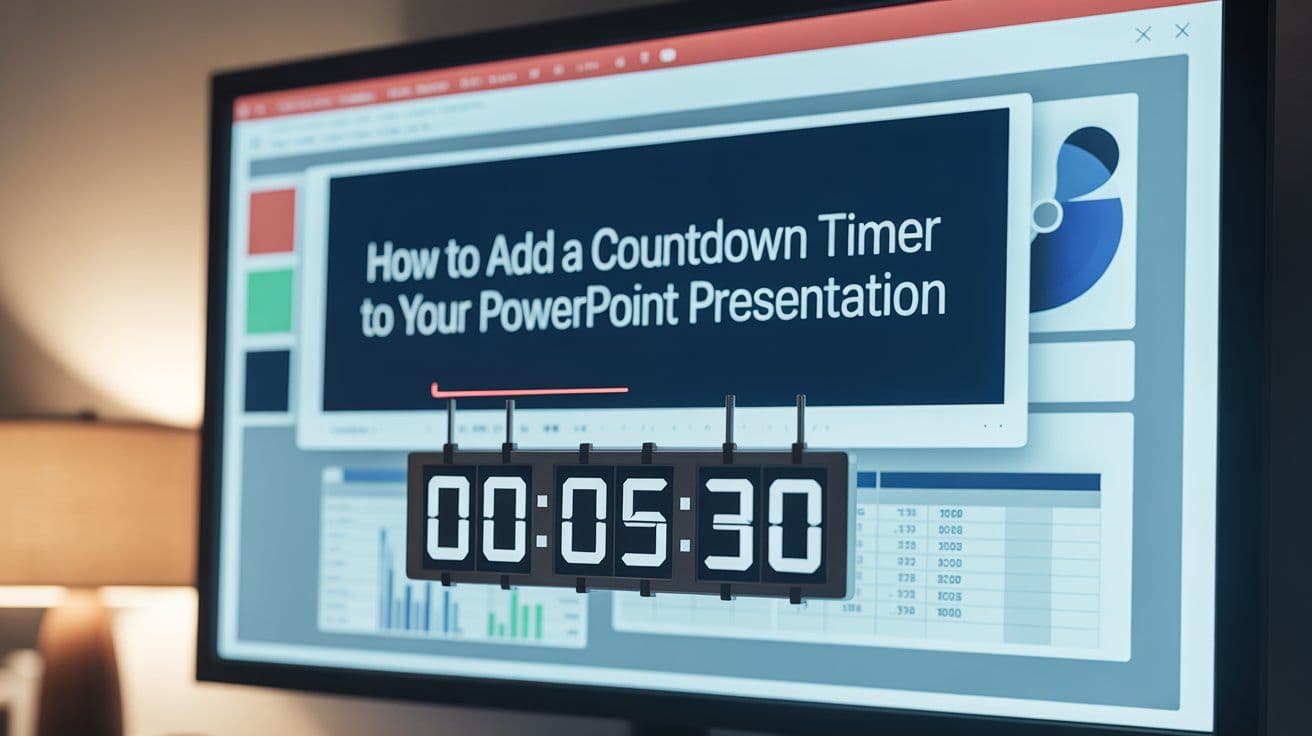
How to Add a Countdown Timer to Your PowerPoint Presentation
Adding a countdown timer to your PowerPoint Presentation can enhance time management, keep your audience engaged, and ensure your sessions run smoothly.
Whether you're timing activities, managing coffee breaks, or pacing a Q&A session, a timer adds structure and urgency to your presentation.
This article provides a step-by-step guide on how to insert a countdown timer using the Break Time add-in, along with tips for customization and alternative methods.
We’ve researched competitor approaches to ensure this guide is comprehensive and incorporates best practices, including latent semantic indexing (LSI) keywords like PowerPoint add-ins, presentation tools, time management, and audience engagement.
Why Use a Countdown Timer in Your Presentation?
A countdown timer is a powerful presentation tool that serves multiple purposes:
- Time Management: Keeps your presentation within allocated time limits, preventing overruns.
- Audience Engagement: Adds a sense of urgency during interactive sessions, quizzes, or group activities.
- Break Management: Clearly signals the duration of breaks, ensuring attendees return on time.
- Professional Flow: Enhances pacing, making your presentation feel organized and dynamic.
By incorporating a timer, you can reduce stress, maintain focus, and create a more interactive experience for your audience.
Method 1: Adding a Countdown Timer Using the Break Time Add-In

The easiest way to add a countdown timer to your PowerPoint presentation is by using the Break Time add-in, a highly rated and versatile tool available in the Microsoft Office Store. Follow these steps to get started:
Step 1: Access the Insert Tab
Open your PowerPoint presentation and navigate to the slide where you want the timer to appear.
Click on the Insert tab in the PowerPoint ribbon.
Step 2: Get Add-Ins
In the Add-ins group, click "Get Add-ins" (or "Store" on Mac).
The Office Add-ins window will open, displaying various add-ins for PowerPoint.
Step 3: Search for Break Time
In the search bar, type "timer" or "Break Time".
Locate the Break Time add-in, renowned for its versatility and high user ratings.
Click "Add," review the license terms and privacy policy, and then click "Continue" to install.
Step 4: Insert the Timer
Once installed, the Break Time timer will appear on your current slide.
To add it to a different slide, navigate to that slide, go to Insert > My Add-ins, and select Break Time.
Step 5: Customize the Timer
Resize and Reposition: Drag the timer’s edges to resize it or move it to your preferred location on the slide.
Set Duration: The default duration is 10 minutes. Click the timer to adjust the time (e.g., set to 5 minutes for a short break).
Change Background: Click the background option to choose themes like Coffee, Lunch, or Exercise, which add a visual context to your timer.
Control Options: The timer includes controls for Start, Stop, and Reset, visible both in edit mode and during the slideshow.
Step 6: Run the Timer
Start your presentation by going to the Slide Show tab and selecting From Current Slide.
Click the Start button to begin the countdown. The controls will fade away as the timer runs, keeping the slide clean.
Use the Stop or Reset buttons as needed during the presentation.
This method is quick, user-friendly and requires no advanced technical skills, making it ideal for beginners and professionals alike.
Alternative Methods for Adding a Countdown Timer
If you prefer not to use add-ins or want more customization, here are two alternative approaches to create a countdown timer in PowerPoint:
Method 2: Create a Custom Timer Using Shapes and Animations
You can build a manual countdown timer using PowerPoint’s shapes and animation features for a highly customizable result.
Insert Shapes:
- Go to the Insert tab, click Shapes, and select a shape (e.g., a circle or rectangle).
- Draw the shape on your slide and add a text box with a number (e.g., “5” for a 5-second countdown).
Apply Animations:
- Select the shape with the highest number (e.g., “5”), go to the Animations tab, and choose an Exit animation like Disappear.
- In the Timing group, set Start to On Click, Duration to 0.01, and Delay to 1.00 second.
- Copy the shape, paste it, and change the number (e.g., “4”). Set the Start to After Previous, with the same duration and delay.
- Repeat for numbers 3, 2, and 1, aligning all shapes to overlap.
Add a Finishing Touch:
- Insert a text box with “Finished!” or “Time’s Up!” and apply an Entrance animation like Appear, set to start After Previous with no delay.
Test the Timer:
- Go to Slide Show mode, click to start, and watch the numbers disappear sequentially, ending with the “Finished!” text.
This method offers full control over design but requires more setup time.
Method 3: Embed a Video Timer
For a quick and visually appealing option, embed a countdown timer video from platforms like YouTube or Vimeo.
Find a Video:
- Search for a countdown timer video that matches your desired duration (e.g., 5 or 10 minutes).
- Copy the video’s URL.
Insert the Video:
- Go to the Insert tab, click Video, then select Online Video.
- Paste the URL and click Insert. The video will appear on your slide.
Customize and Play:
- Resize and position the video as needed.
- Use the Video Format and Playback tabs to adjust settings like autoplay or loop.
- Start the slideshow and click Play to run the timer.
This method is ideal for presentations with internet access but may require a stable connection.
Best Practices for Using Countdown Timers
- Test Before Presenting: Always test your timer in Slide Show mode to ensure it runs smoothly.
- Keep It Visible: Place the timer in a corner of the slide to avoid obstructing content.
- Match Your Theme: Choose a timer background or design that aligns with your presentation’s branding or style.
- Use for Engagement: Timers are great for interactive sessions, quizzes, or timed activities to maintain audience focus.
- Combine with Sound: Add a sound effect (via Insert > Audio) to play when the timer ends for extra impact.
FAQs
Can I use the Break Time add-in on a Mac?
Yes, the Break Time add-in is compatible with PowerPoint for Mac. Navigate to the Insert tab, click Store, and search for “Break Time” to install it.
How do I ensure the timer doesn’t cover my slide content?
Resize and reposition the timer by dragging its edges or corners. Place it in a non-intrusive area, like the top or bottom corner of the slide.
Can I add sound to the timer?
Yes, you can insert a sound file via Insert > Audio and set it to play automatically when the timer starts or ends.
What if I don’t want to use an add-in?
You can create a manual timer using shapes and animations or embed a video timer. Both methods offer customization but require more setup time.
Is the Break Time add-in free?
Yes, Break Time is a free add-in available in the Microsoft Office Store, with no hidden costs for basic functionality.
Conclusion
Adding a countdown timer to your PowerPoint presentation is a simple yet effective way to manage time, engage your audience, and ensure a professional delivery.
The Break Time add-in offers a quick, customizable solution, while manual animations and video timers provide alternatives for specific needs. By following the steps outlined and applying best practices, you can create a dynamic and well-timed presentation that keeps your audience on track.
Related Articles